3D Printed Coat Hanger Mounts

This was a simple design project to make pole ends for a coat hanger in my new wardrobe. Like most of my 3D printing projects I started with a sketch. I find it much easier to sketch and develop ideas on paper. When I’m sketching I don’t know what all the dimensions are going to be so I write down the dimensions that I know first. I will then put in any dimensions that from experience I think might work.  The defining feature in this design was the aluminum pole, I used an old boat hook that had been damaged. The OD (outside diameter) on the pole was 25mm. I was going to use 4mm bolts and screws to secure the end mounts so that defined the size of the mounting holes.

Next I opened up Fusion 360 and sketched the base of my part. Most of the dimensions are kept in this sketch so that I can come back and edit it easily in the future.

Here is the basic shape.

I added the mounting holes with counter sinks.

Then I added some curves and fillets to make it looking more aesthetically pleasing and to soften the corners.

I used the Ultimaker 2+ that we have at our local library to print the part. I used the recommended 0.15mm settings with 40% infill.

I used the centre hole when positioning the mounts.

Here it is with the pole in it. When the weather gets better I might take the pole out and paint it to make it look a little cleaner.

A short history of my endeavors in drones

In 2010 my friend Alex sent me a video of someone flying a quad copter around a field. I had never seen one before and I was instantly fascinated. Having never played around with RC Models before I knew very little about what was involved.

It took me almost a year of watching YouTube videos and reading forums before I would take the plunge and start ordering random components from Hobby King.

This was before people had started to refer to them as Drones and a lot of the designs on the internet were still been flown manually with only gyros to stabilize them. I decided that I would eventually use these flying contraptions to shoot video, so in my search for a stable design I came across David Windestål (www.rcexplorer.se) and his tricopter-v2-2/”>tricopter V2 (using KapteinKUK control board).

Flite Test was a great resource when I started building my first tricopter. I used Davids V2 design and the v1.5 KK board from Hobby King.

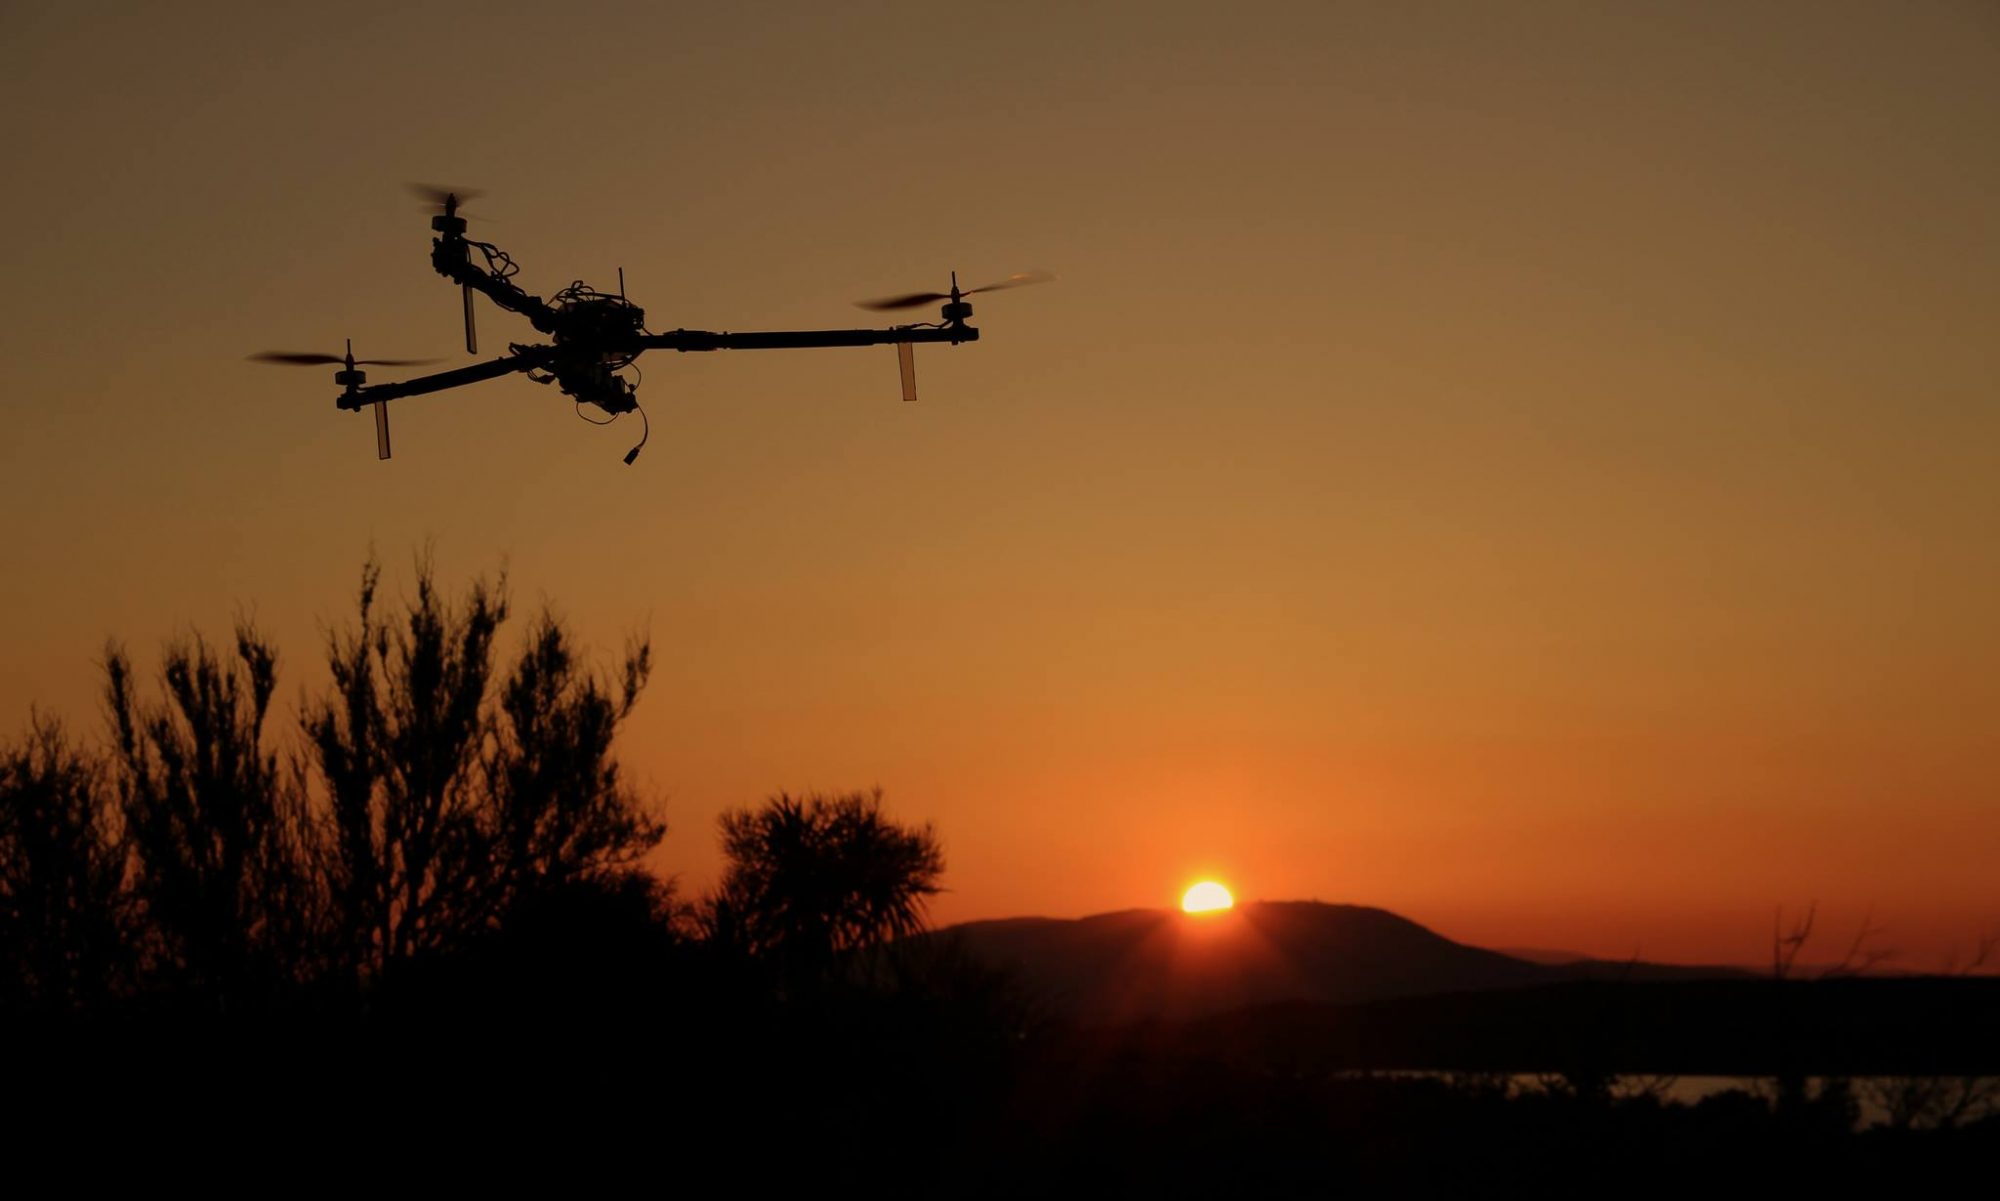
I opted for a plywood hub as it was easy for me to get, but the rest is pretty close to Davids design. Here is a picture of it flying.

My first attempt was pretty stable but had no accelerometers so it needed constant inputs. This meant it ended up in a lot of trees.

For my Mark 2 and added I the KK2 board which gave me self-levelling, a much more stable design but loose propeller adapters caused her to fly vertically down onto a concrete floor.

New motors and round fixed booms made the MK3 very stable and good for taking pictures with a GoPro but was difficult to transport.

With my MK4 I went back to square folding booms and I added a servo controlled camera stabilizer. It was a fine ship but loose wiring caused more vertical flight into the ground.

It even had this amazing carry case that my Dad built for it.

Foam insert

Backpack straps for bringing it on hikes.

This was a great Drone and I got loads of great shots with it.

But alas it was not to last. On the 2nd June 2013 while shooting video for a hiking project on Carrauntoohill the MK 5 decided to fly off into the mist and was never seen again.

After a few months I got back in the game and bought a tricopter frame kit from rcexplorer.se

This was a fun drone, it flew well and I had a lot of fun with it.

The in 2014 I got a Rep Rap 3D Printer. and started printing drones.

The 3D printed tricopter was too heavy so I abandoned it and started working on quad copters.

This one was cool because it had folding arms and the camera could look up for inspecting bridges.

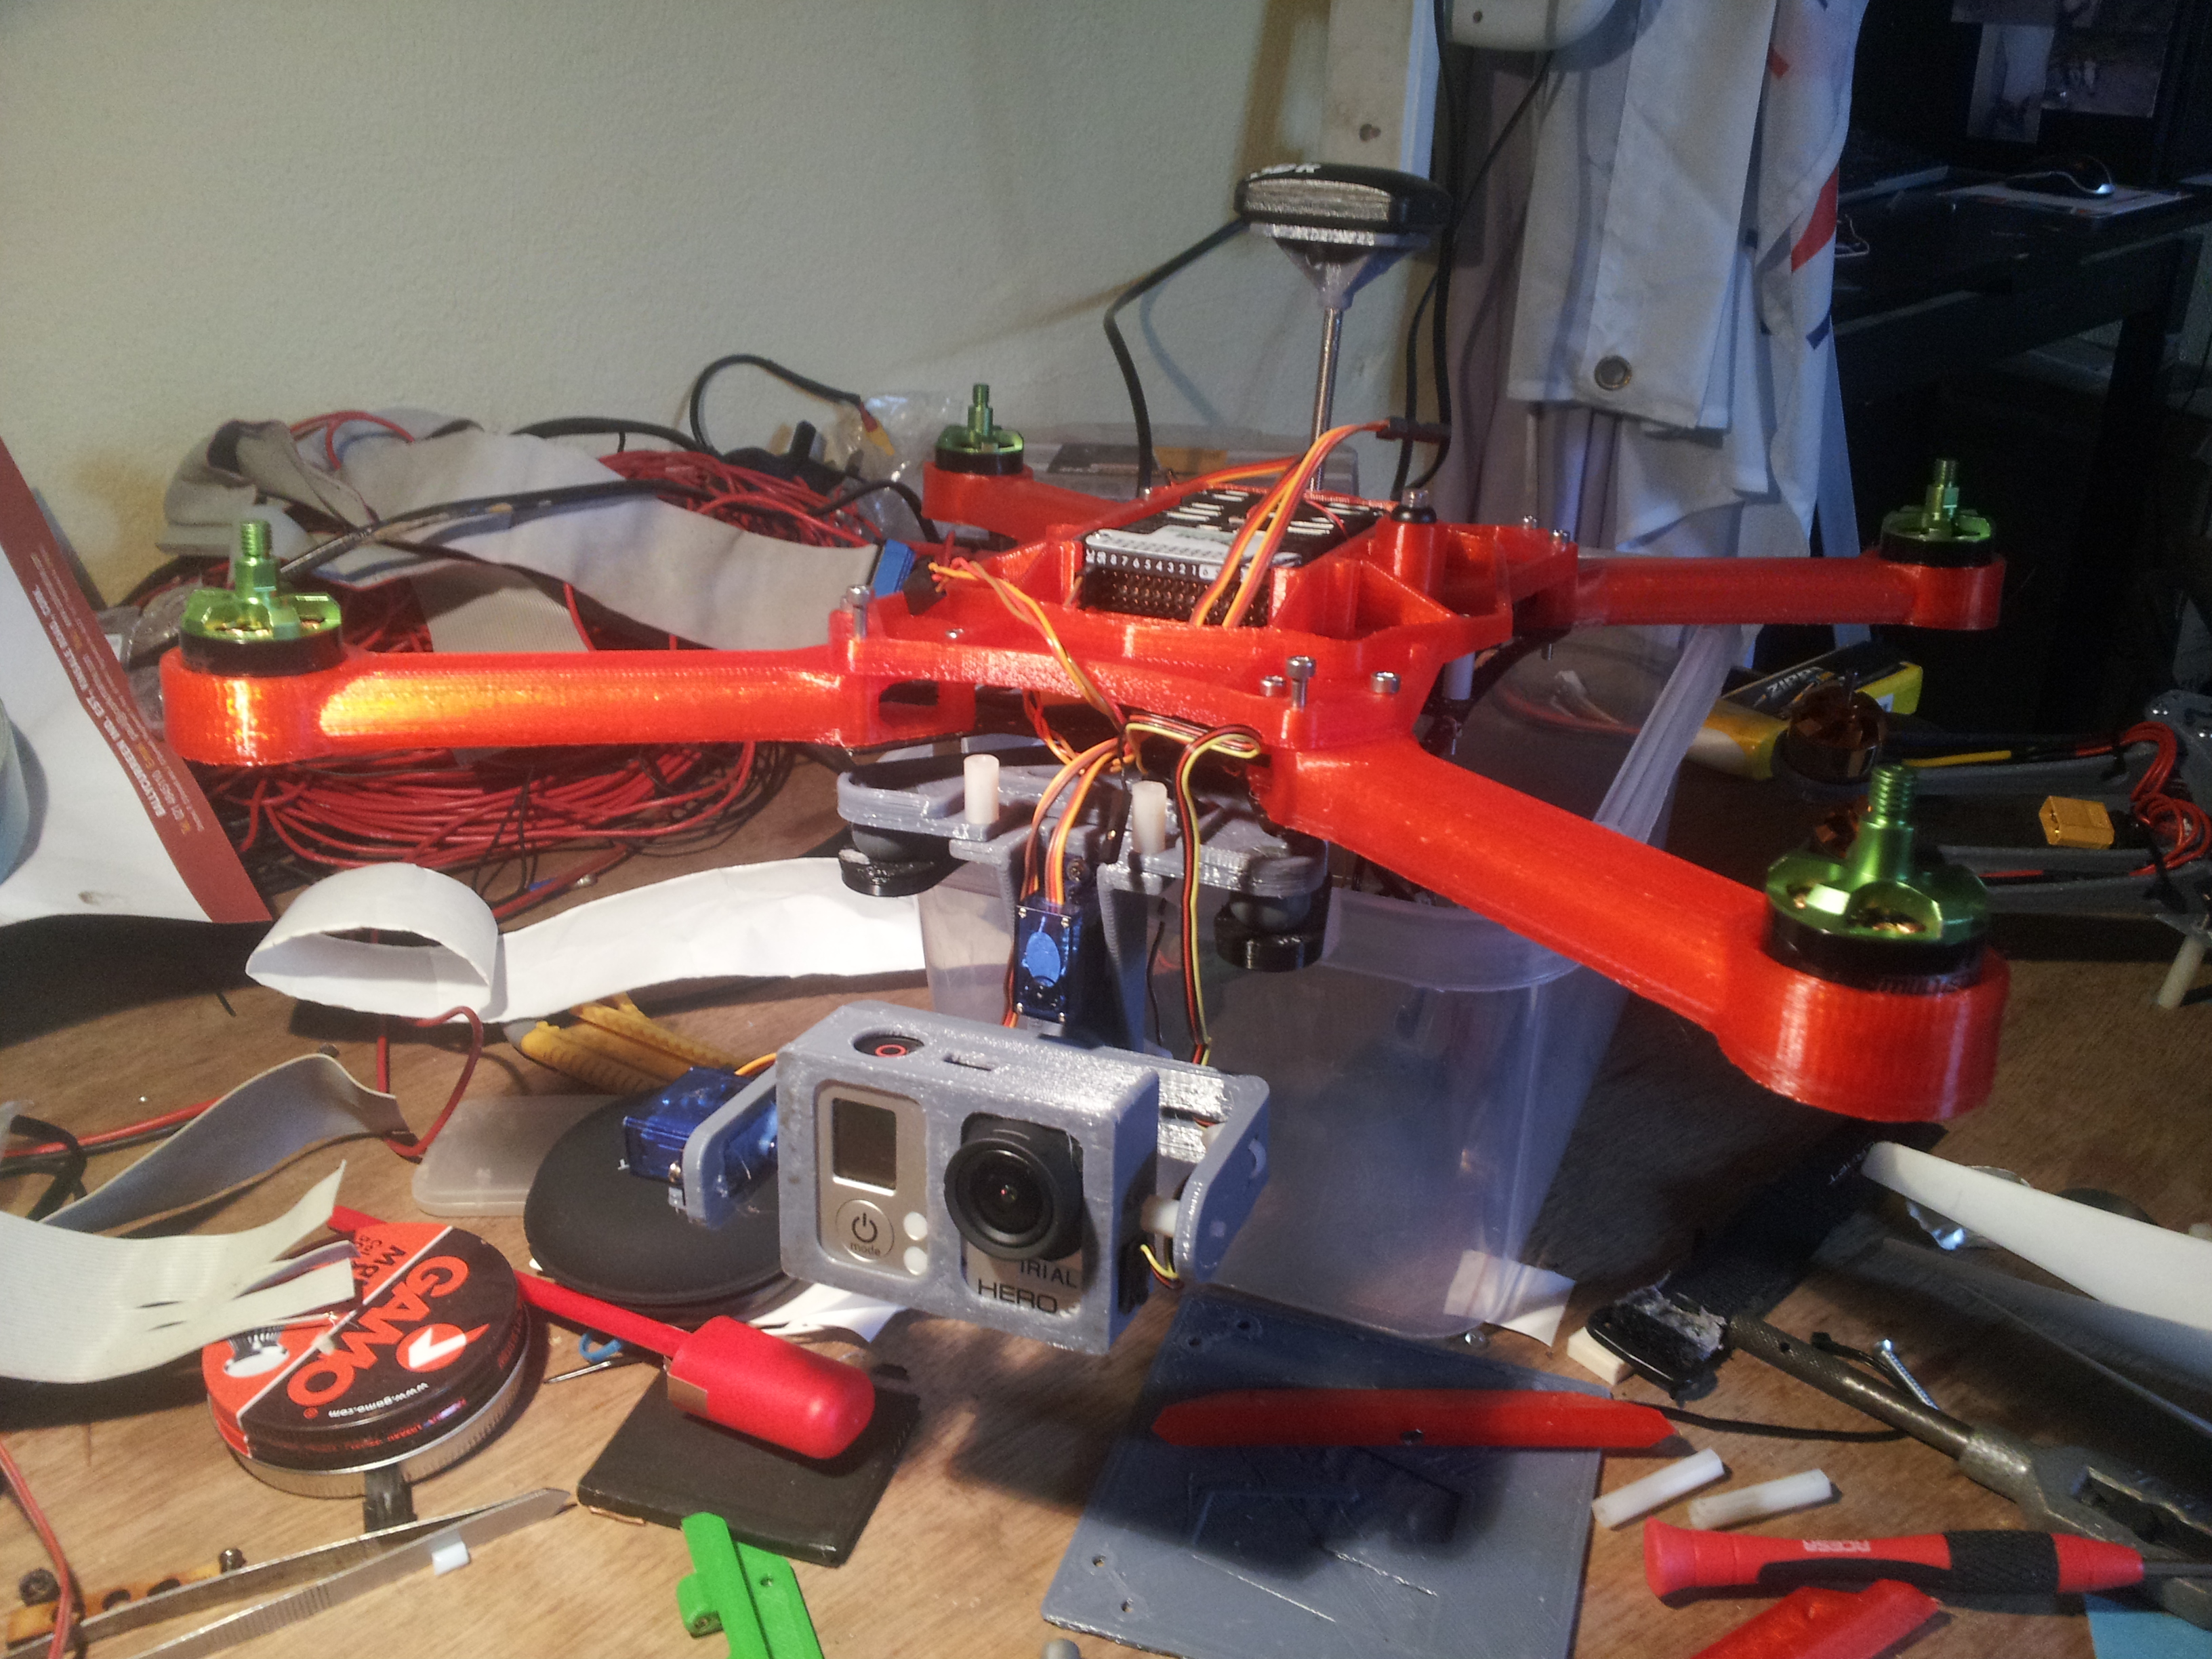
Then I upgraded to the Pixhawk and built a new frame around it.

You can see I also built a 3D Printed servo gimble in this version.

Here is a few of my other flying toys.

When I crashed and broke my 250 racing quad I printed a new top plate for it.

This is a mini 250 size 3D Printed Drone I designed.

I started converting this old Play Station one controller into a Mini TX. But so far I haven’t gotten past the proof of concept.

3D Box

This is a box that I designed from scratch. It’s got cool angled edges that come together at the corners. Its also got a lid that you can add magnets to to keep it closed.

The edges can be printed out and can make your own panels from any 2mm thick material.

You can download the STL files for Free from my MyMiniFactroy Page : https://www.myminifactory.com/users/IrialK

To put it together like I have done you will need 48 M3x8mm nuts and bolts, 2 M3x12mm grub screws for the hinges and 6 5x1mm neodymium magnets. but you could also put it together with superglue.

Printing instructions:

  • The normal edges can be printed with the outer flat edge on the print bed.
  • The lid hinges and and edges can be printed with the inside flat surface on the print bed.

Boat Wi-fi – Long Range Antenna

After arriving in Toronto we decided to finally sort out a proper Wi-Fi antenna on our boat. While sailing in the Caribbean we met lots of boats with WiFi boosters for connecting to the marina or other free WiFi while on anchor.

I ordered most of the parts from amazon and they were delivered to us at the marina.

  • Ubiquity Bullet M2
  • TP-link 12dbi 2.4Ghz omnidirectional antenna
  • Tender WiFi Router
  • POE (Power Over Ethernet) injector
  • 25ft Ethernet Cable

Aside the bought components I designed and 3D printed brackets for mounting the antenna on the mast.

In this blog post I am just going to run through the physical installation. There are lots of other resources out there on setting up the Bullet and connecting to WiFi hot spots. Having said that I will give a brief description of the setup at the end.


I designed the mounting bracket on paper first. It is much easier to take down all the dimensions and measurements on a simple sketch and then work from there.

The bottom of the Antenna has a really nice fitting for mounting it with a 25mm thread. I based my mast bracket around this feature.

Even though the Bullet is weather proof i felt it would be better to keep it covered if possible so I added a section that I could fit a PVC pipe over as a cover.

After sketching it up I opened Fusion 360 and drew up a CAD model so that I could 3D print it.

Our local Library has a great 3D printing Facility

The antenna mount also has two hooks that allow me to attach it to the front of the mast on the boat.

I used the first mount I printed to mount the top of the antenna.

After attaching the Bullet and the ethernet cable I slide the PVC pipe over the mount.

This is where the ethernet cable from the Ubiquity Bullet M2 Plugs into the Power Over Ethernet Injector and then the Tenda M301 Router.

Connecting to the Tenda and the Bullet

  1. Power up the Bullet and the router
  2. Connect a laptop to the router with a Ethernet cable.
  3. Go to the Default IP address for the Tenda, mine was 192.168.0.1 set up your AP setting. ( *Chrome dose not like going to these addresses, you willhave to select advanced and procced to “web address” )
  4. Go to the Default IP address for the Bullet M2, Mine was 192.168.1.20. set it up according to the video below.
  5. All set. If you are connecting to a public hot spot you will probaly be ased ot sign in on the first device that connects through your AP after powering everything up.

3D Printer files (STL) Download them from My Mini Factory Page

PDF setup for Bullet M2: http://dl.ubnt.com/docs/M_Series_Beginner_Guide.pdf

Video Guide:


Amazon links:


Camera Bag

I wanted a new Camera bag for carrying my DSLR and a few other essentials when out exploring. I could have bought one but where is the fun in that. and by making my own its exactly the way i want it. 

Here are a couple of shots of me sizing it up. 

After i had the main pocket of the bag sized I added a slot for my tablet  and a small pocket for spare camera batteries.

I then added a zip pocket to the outside of the bag for holding my phone and wallet. 

Then came the top cover and it is almost finished. 

The last part of the project was to add a shoulder strap. I opted for one with wide padding and adjustable on the front side.

Features:

  • Adjustable strap.
  • Wide shoulder pad
  • Side pocket for Phone and Wallet
  • Interior slot for tablet
  • Pouch for spare camera batteries
  • A light top cover for those quick on the go shots

Yogo Mat Bag

Here is a bag I made for my girlfriends yoga mat.

Features:

  • It has an adjustable strap with a buckle for quick release.
  • it has a two part construction with self tightening drawstrings.
  • The canvas material has a PVC lining so her mat is protected from the rain.
  • The drawstrings have brass eyes to prevent ware.

My 3D Printed Drone -Old Project-

So I’ve been designing and 3d printing for a while, I’ve printed lots of stuff: shower holders, boxes, key phobs, buisnes cards, window winders and lots more.
I’ve lots more but the biggest thing that I have been working on is my drones.
I started with a tricopter.
2014-04-07 20.44.31

I used aluminium booms and 3d printed the rest of the parts. I used tiger motors from a Cinestar 8 (witch were a little overkill for what i was doing). It had a tarot 2D gopro gimble and a 3drobotics AMP2.5 . It worked quite well and I ran it on 3000mAh 3s battery’s witch got me about 8 min flight time (not great), the arms were too heavy and the center frame was to flimsy. I also found I had problems with the power board been too close to the compass witch caused very bad position hold in Loiter mode.


Eventually I put it to one side and started my next project the IK Quod : a 3d printed quad copter completely of my own design. My goal was to design a drone that

  • would be light enuf and small enuf to take backpacking 
  • could be 3d printed bar the hard wear (the parts that could not be 3d printed cheap).